Annotation user interface
Annotations are used to document key points, add commentary, drawings or insert reference images into the video. Certain tools can also be used to measure times, repetitions, angles or distances.
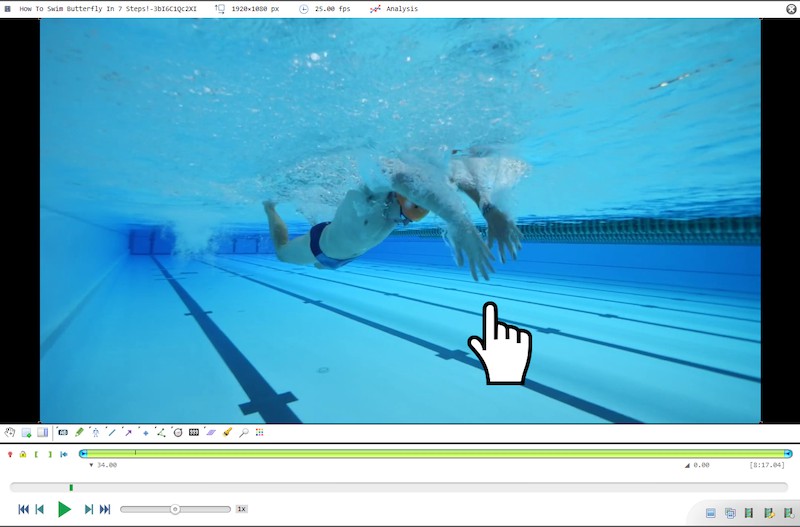
The following screenshot describes the parts of the interface used for annotating videos.

The annotation toolbar has tools for adding drawings and key images.
The list of key images shows thumbnails of the key images added to the video.
The drawings are added on top of the video.
The annotation pane has tabs for editing key images and drawings.
Some annotation features are not immediately visible in the screenshot
Other tools can be found in different places of the interface.
Big pointers can be used for presentation purposes.
The background layer sits between the video and the drawings.
Annotations can be saved and loaded using annotation files.
Certain external formats can be imported, see importing data.
Annotation toolbar

The left part of the toolbar has the following general function buttons:
|
Manipulates drawings or pans the image. |
|
Adds a key image at the current time. |
|
Toggles the annotation pane. |


The rest of the toolbar has the drawing tools.
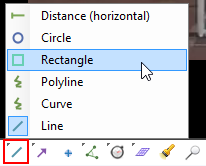
There are more tools than those immediately visible. Buttons with a small arrowhead in the top-left corner contain other tools that can be accessed by doing a right click or a long click (click and hold) on the button.
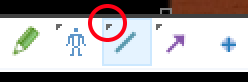
A flying menu opens with the extra tools available.
For a description of the individual drawing tools see General annotation tools, Posture annotation tools, Measuring time, Counting events and measuring cadence, Measuring angles, Measuring positions and distances.
To stop using a particular tool and come back to the hand tool you can also use the Escape key.
Tip
You can use the middle mouse button to directly manipulate drawings without switching to the hand tool.
List of key images
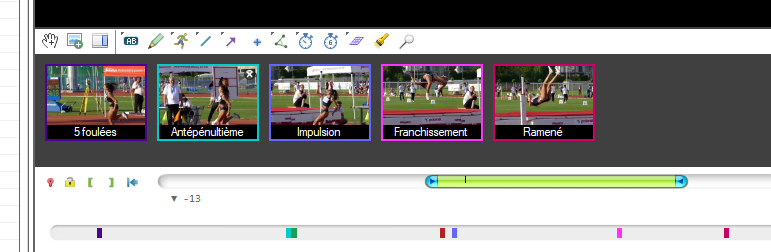
The list of key images presents an overview of all added key images. It can be used to delete or move them in time using the context menu or dragging them to the timeline.
More about key images can be found in Key images.
Tip
You can close down this area by clicking the down arrow at the right of the annotation toolbar or by double-clicking the annotation toolbar.
Drawings
Drawings are vector-based, they can be manipulated and resized after they have been added to the video.
They have a context menu that can be used to access tool-specific functions, copy and paste, and deletion.
For a description of the individual drawing tools see General annotation tools, Posture annotation tools, Measuring time, Counting events and measuring cadence, Measuring angles, Measuring positions and distances.
For editing style and opacity options see Drawings properties.
The drawings can be attached to filmed objects even when the camera is moving, see Camera compensated annotations.
Warning
Drawings are created in key images. Deleting the key image deletes all the drawings in it.
Annotation pane
The annotation pane has tabs to edit key images and drawings.
|
|
|
|
|
/tracking/object_tracking |


Other tools
Some tools are not part of the annotation toolbar and can be found in other places in the interface.
Trajectory objects are created by right clicking the video viewport and menu
The coordinate system is available in the main menu
The camera test grid is available in the main menu
Inserting an image or SVG as a reference is done using the main menu
Big pointers
For presentation purposes the hand tool can use a large image instead of the normal cursor. To enable this mode go to the main menu and select a pointer from there. This list of image-based pointers can be customized by adding new images to the “Pointers” directory under application data.
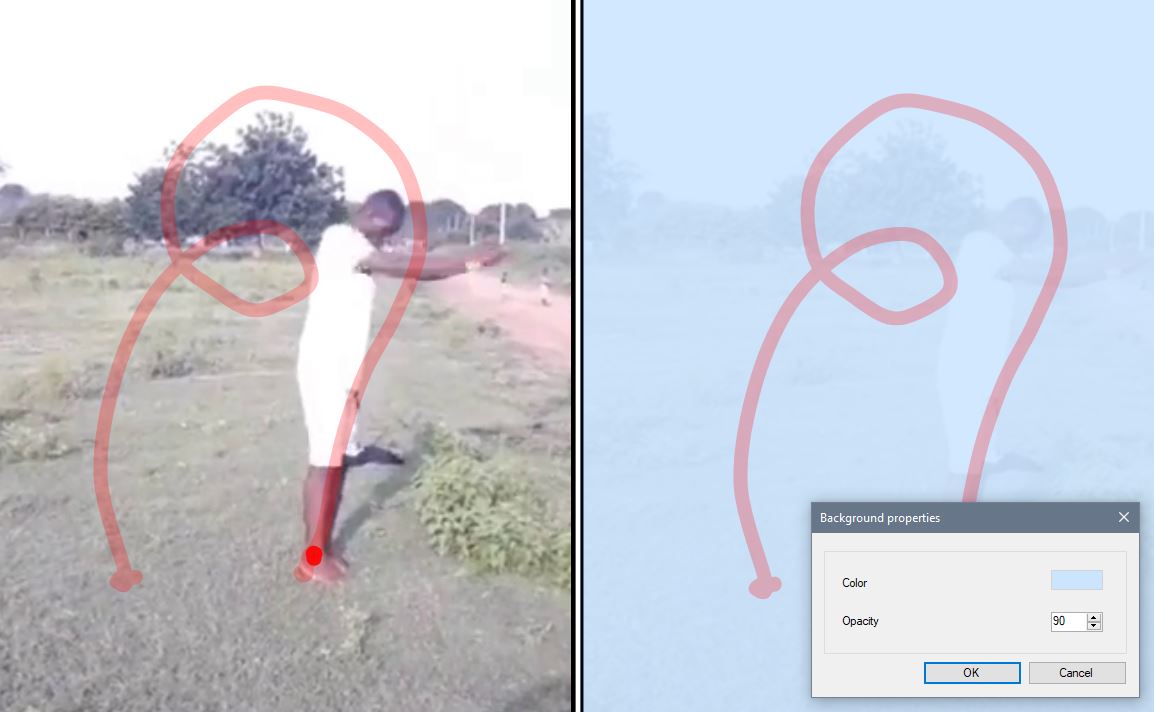
Background layer
The background layer sits between the video image and the drawings. It can be used to make the drawings more visible against the video or, at full opacity, show only the annotations and trajectories on a plain background.
To change the background layer color and opacity right click in the background of the video and choose . This option is also available in the main menu